By Ali Elsberry
I just love the nostalgia that comes from inhaling the wonderful scent of fir this time of the year. When I was young, we always went to the local tree farm in the tiny town where I grew up to find our Christmas tree. We’d load up in our heavy jackets and tromp through the rain-saturated fields to find the perfect one to take home. This typically involved my dad standing around smoking his pipe and holding the saw while my mom hunted down the fullest, fattest tree on the entire property so that stringing lights would be as easy as possible. All she would have to do was make a few passes around the tree and the lights basically strung themselves.
My sister and I would play a game where we would take turns hiding in the bushiest tree we could find, and then try to search each other out, like hide-and-seek, but with a twist … sometimes an unsuspecting family came to inspect the tree you were hiding in.
And when the tree was finally set up in the house, I vividly remember that delicious smell permeating the entire upstairs level.
No matter your childhood memories of Christmas trees or not, that smell is really special, and one of my favorite activities with my children at this time of year is to incorporate it into greenery and wreaths to decorate our house.
This wreath is quite simple, but turns out really cute. You will need cardboard, sturdy scissors, string (length roughly 8 times the diameter of your wreath), fir boughs, and whatever other natural materials speak to you. I let my children each pick their own materials so that their wreaths have a unique and meaningful result. The following steps can easily be done by most ages with a little guidance.
Start by making a wreath frame from the cardboard, I have found the simplest way to do this is to trace a salad plate onto your cardboard, cut it out, then place a teacup plate centered inside the circle. Trace around that and cut it out as well (you can use dinner and salad plates in the same way for a larger wreath, but a smaller size tends to hold up better in the long run).
Take one end of your string and tape it to the cardboard, leaving about 5” loose, then loop the other end around the cardboard, going from the outside through the inside and back out again, pulling taut and leaving approximately 2” in between each loop, until you have wound around the whole circle and come back to the other end of the string that you taped in place. Remove the tape and tie both ends of your string together, and snip the ends to about 1/2”. Make a loose loop of string around the wreath and tie it off. This loop will serve as a way to hang it later on.
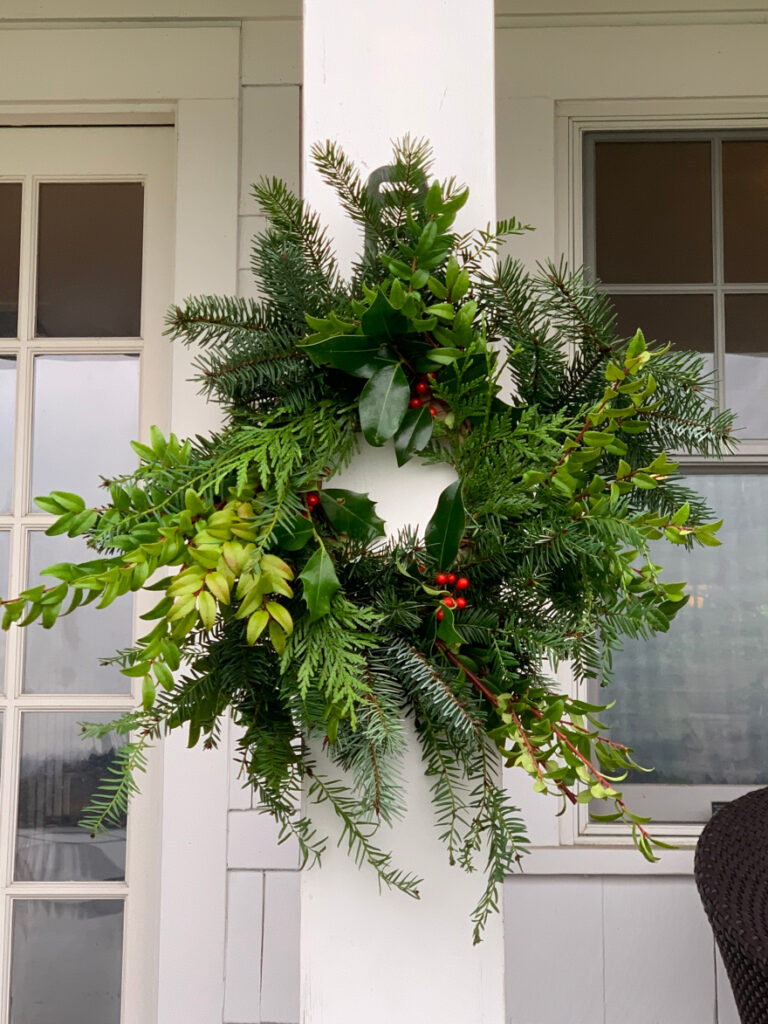
Begin making your fir bunch for the first spot on the wreath, lining up the ends so that you when you stuff them into place you will have everything going under the string at once. I suggest using fir at the bottom (this gives the wreath a nice fluffy base and works to cover up much of the cardboard so you won’t have bare spots later), then add smaller, shorter items from there.
Push the base of this bunch under the string on top of your cardboard, working it all down far enough that needles/leaves/berries will be on both sides of the string, with less of them on the stem side than the tips and ends (this helps to keep things from moving out of place). We like to alternate the bunches so that every other or third one is repeating; for example, my daughter used two fir branches under a sprig of huckleberry, then she moved to the next string where she layered one fir branch under a stem of hemlock and some holly over that. Back to fir/huckleberry, and so on.
Work in the opposite direction you wove the string (if you wrapped the string clockwise, layer the greenery in that same direction, but work anti-clockwise so you can always access the next string as you move around the circle). Make sure your bunches are thick enough to fill the space and not leave any wiggle room under the string (otherwise it will fall apart when you hang it up). Keep working around the wreath in this way until you have gone all the way around, making sure your last bunch tucks under the string of the first one you did so that the ends are fully concealed.
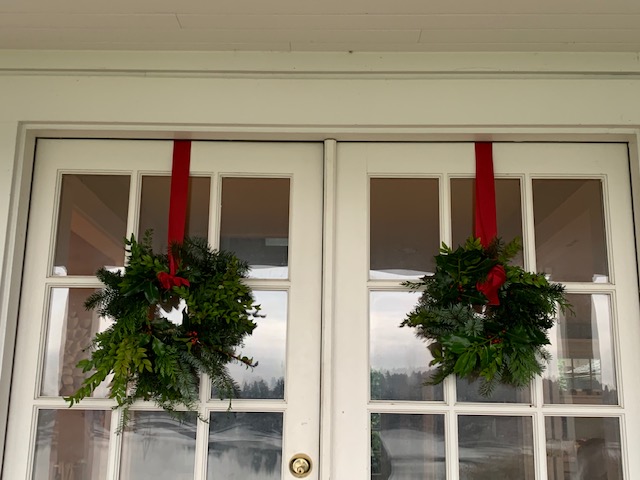
Once finished, hold it up to check for any areas that look thin or where you want more material – you can add a bow, weave some moss into random spots, or just leave it as-is, and, if needed, shape the greenery around so that it falls into place nicely. These wreathes look great indoors or out, but they will last much longer if you hang them in a covered space outside in the fresh air. Anywhere near the front door works well so you can breathe in that festive smell every time you come or go!